The five-second card check
- Who is this card meant to hit or help?
- Can this Montabi reach that target from its current square?
- Does the line leave the Trainer exposed?
- Would one move make the same card safer or stronger?
- If the answer is no, save the AP for a card that advances the turn.
Why a good card can feel useless
Damage is only one part of a card. A card can be excellent in the right lane and still be dead from the wrong square. When a hand looks weak, check the board before blaming the deck: the missing piece may be position, target access or a safer order of actions.
Draft access, not damage alone
A hand can look stacked and still do nothing because the good card cannot reach its target. Take movement, reach, and protection alongside damage. A team that can take a good square gets to use more of its deck.
Build for the board you play
Keep more than one way to move, protect space, or reach an awkward target. Then a bad draw is annoying instead of run-ending.
Pierce, Cleave, Splash, Spread, and Cross: check the highlighted tiles
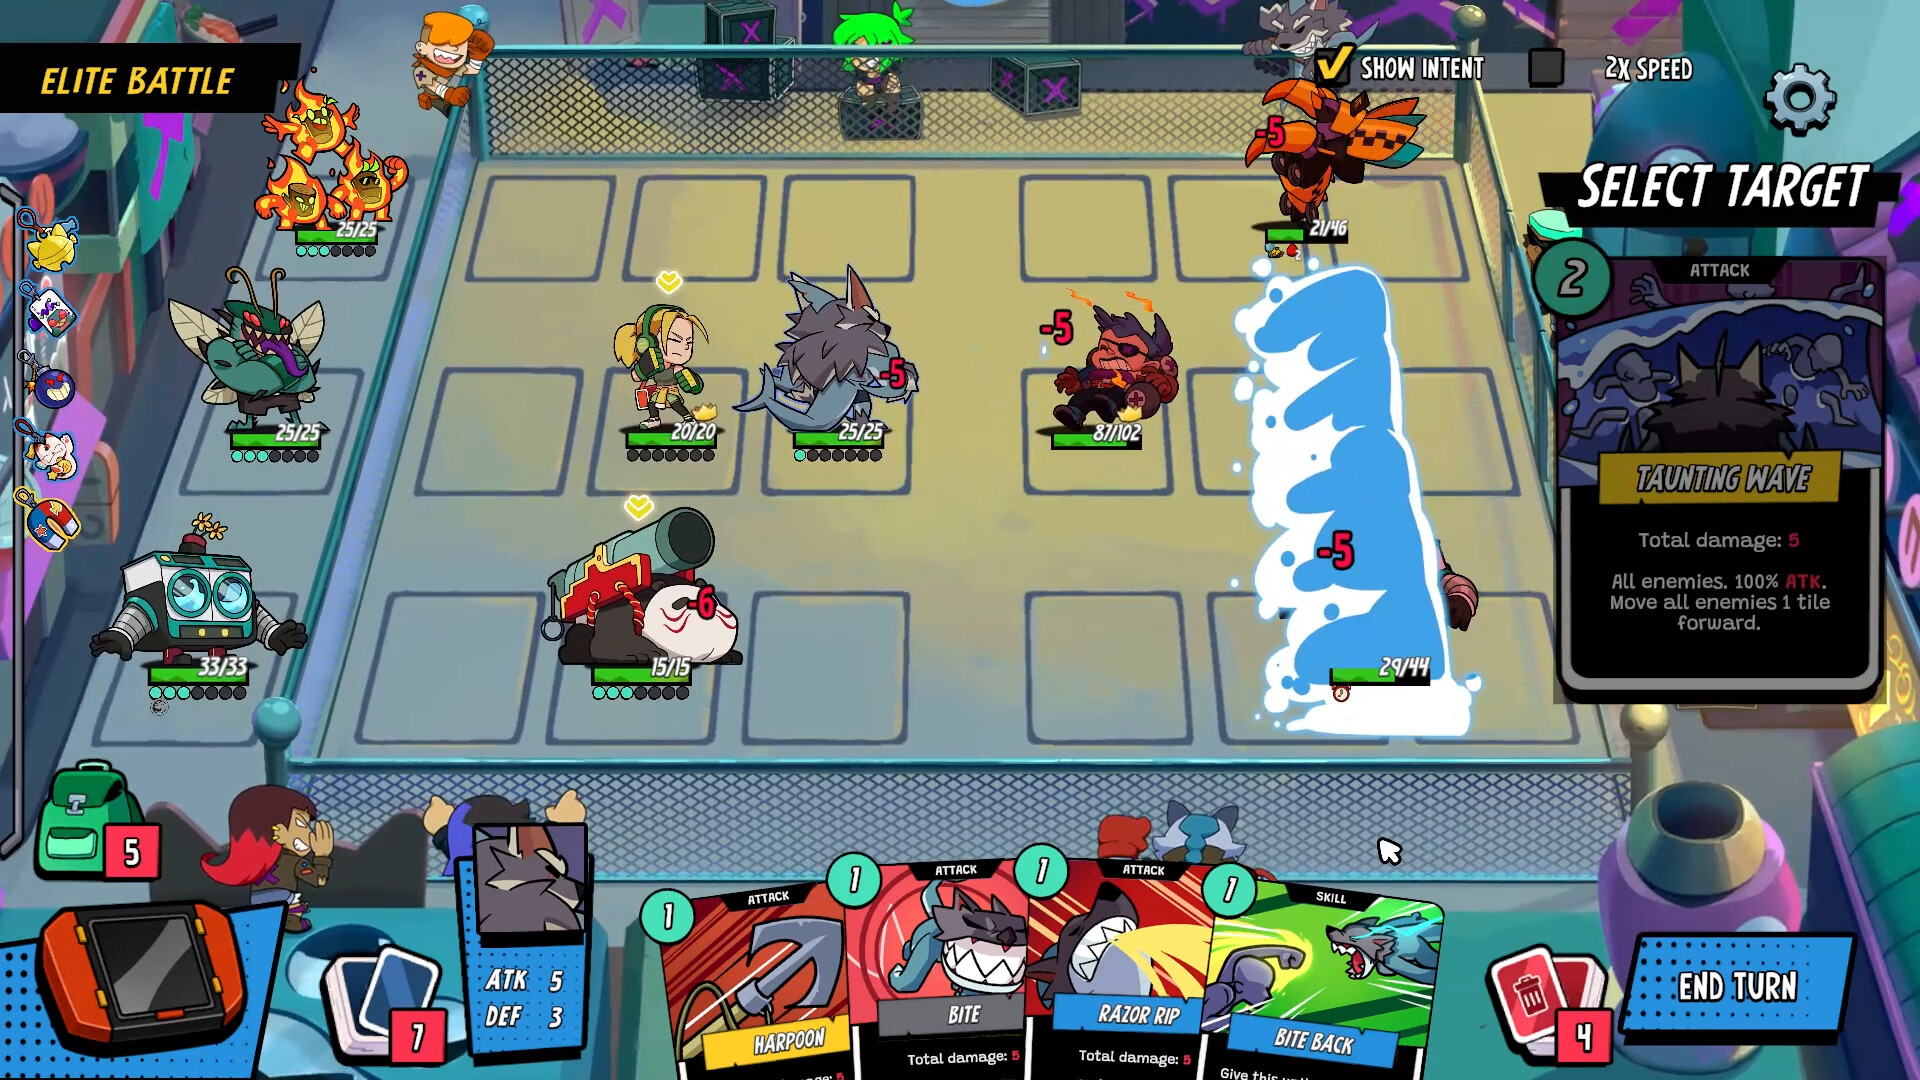
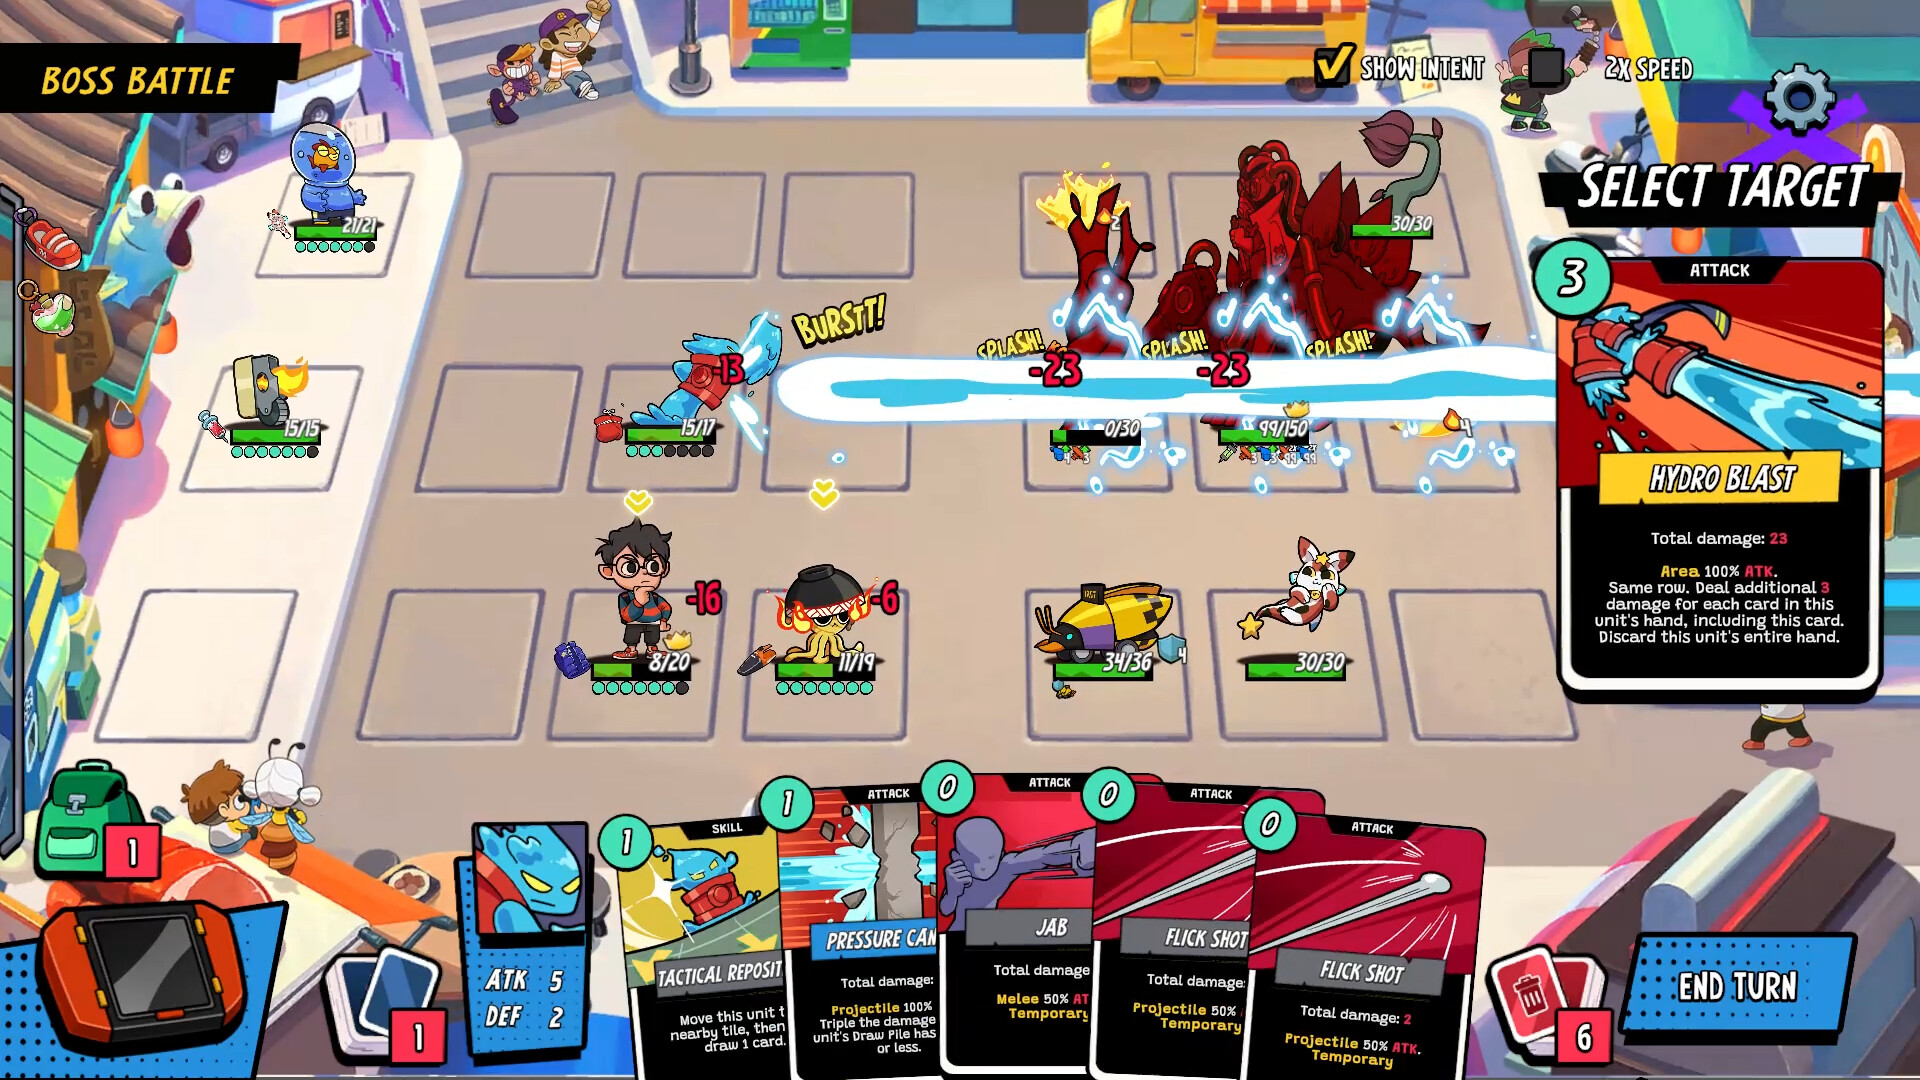
These targeting words tell you to look past the card's damage number. Before committing AP, select the card and check the tiles it highlights: which enemy can it reach, which squares are also affected, and whether the line still keeps the Trainer safe. The board preview is more useful than trying to memorize a keyword in the middle of a fight.
When a targeting card earns its place
- It reaches the enemy that matters from the squares your team can usually occupy.
- It gives you a useful line when enemies crowd the grid or block the Trainer.
- It works with the movement and protection already in your hands.
- It does not force the team into a risky square just to use it once.
A simple recovery line
If nothing reaches the target you want, protect the Trainer, reposition the Montabi that matters next turn, and avoid spending AP merely because it is available. A quiet turn that creates a clean next turn is usually better than a flashy turn that leaves the team exposed.