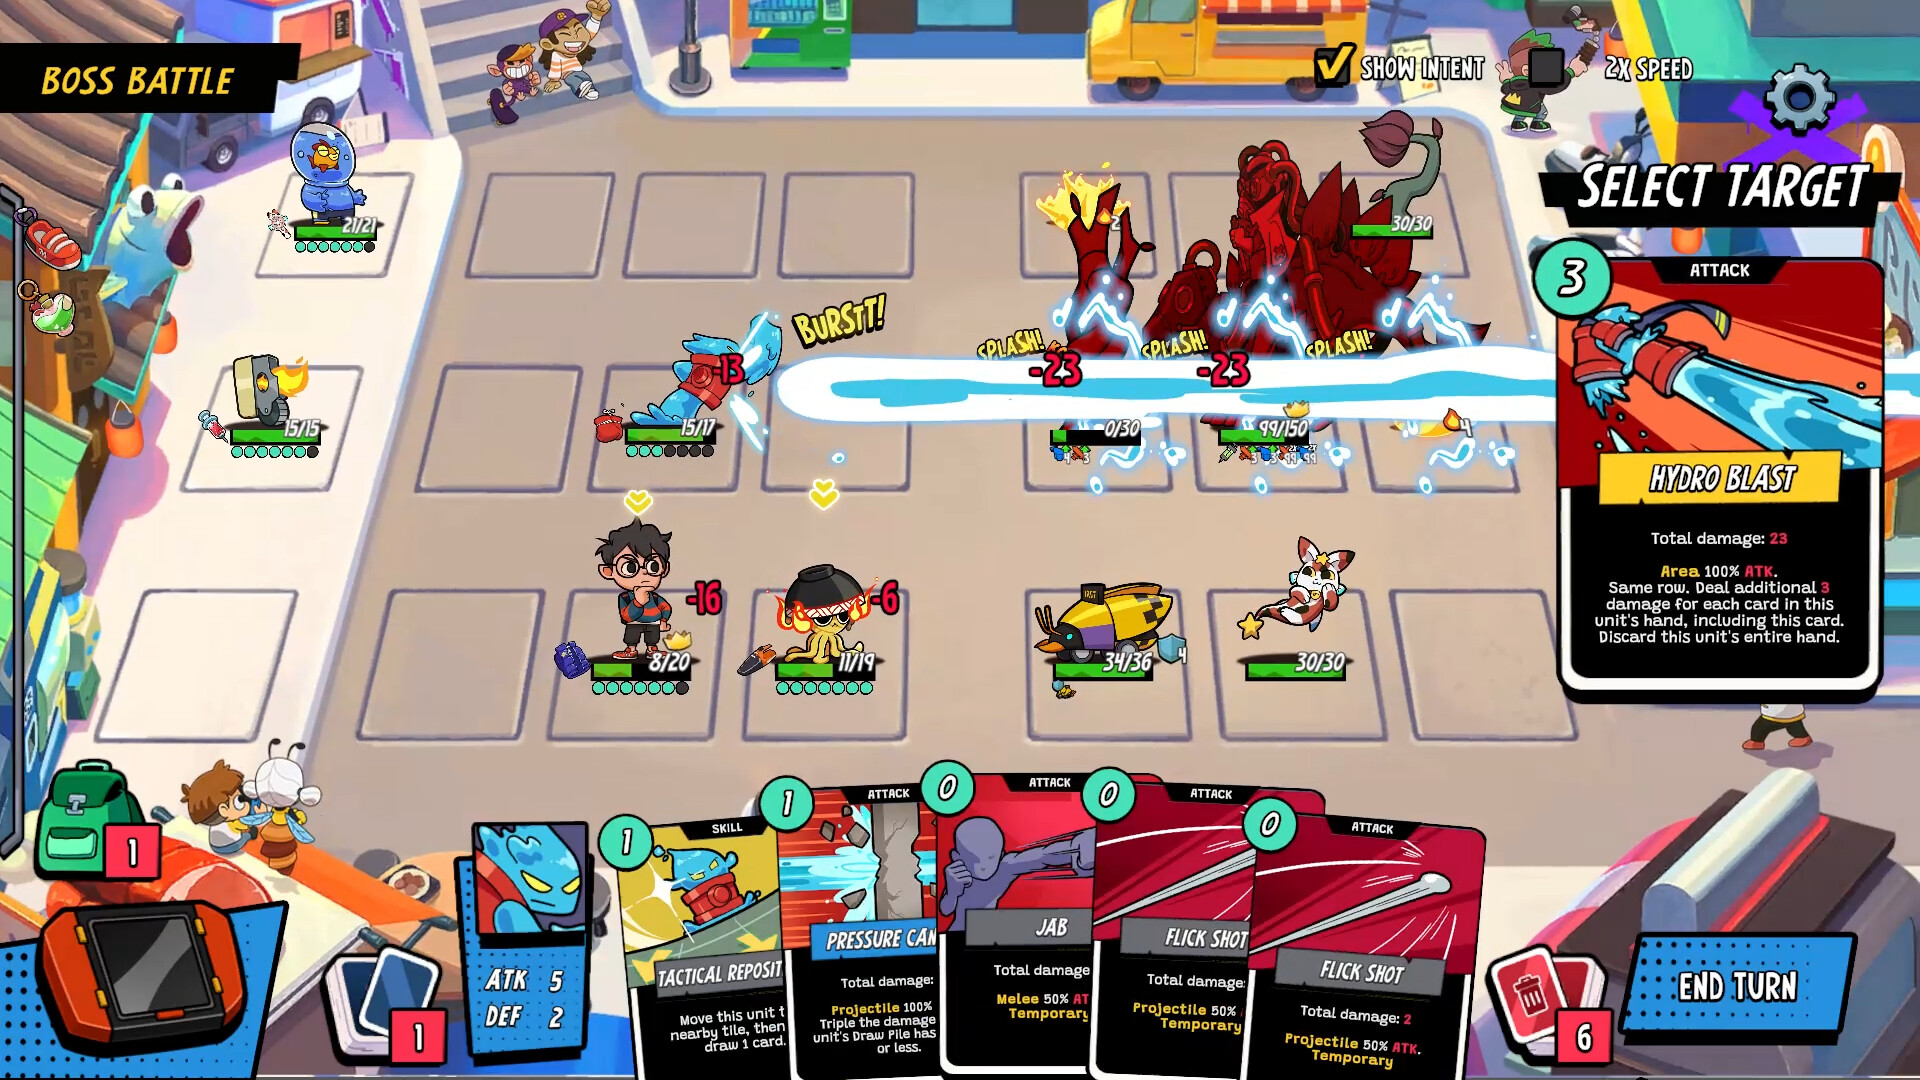
Read the grid before spending cards
Montabi uses a 3×3 grid. Treat the grid as part of every card decision: check who can reach, who is exposed, and whether a move opens or closes a safe lane for the Trainer.
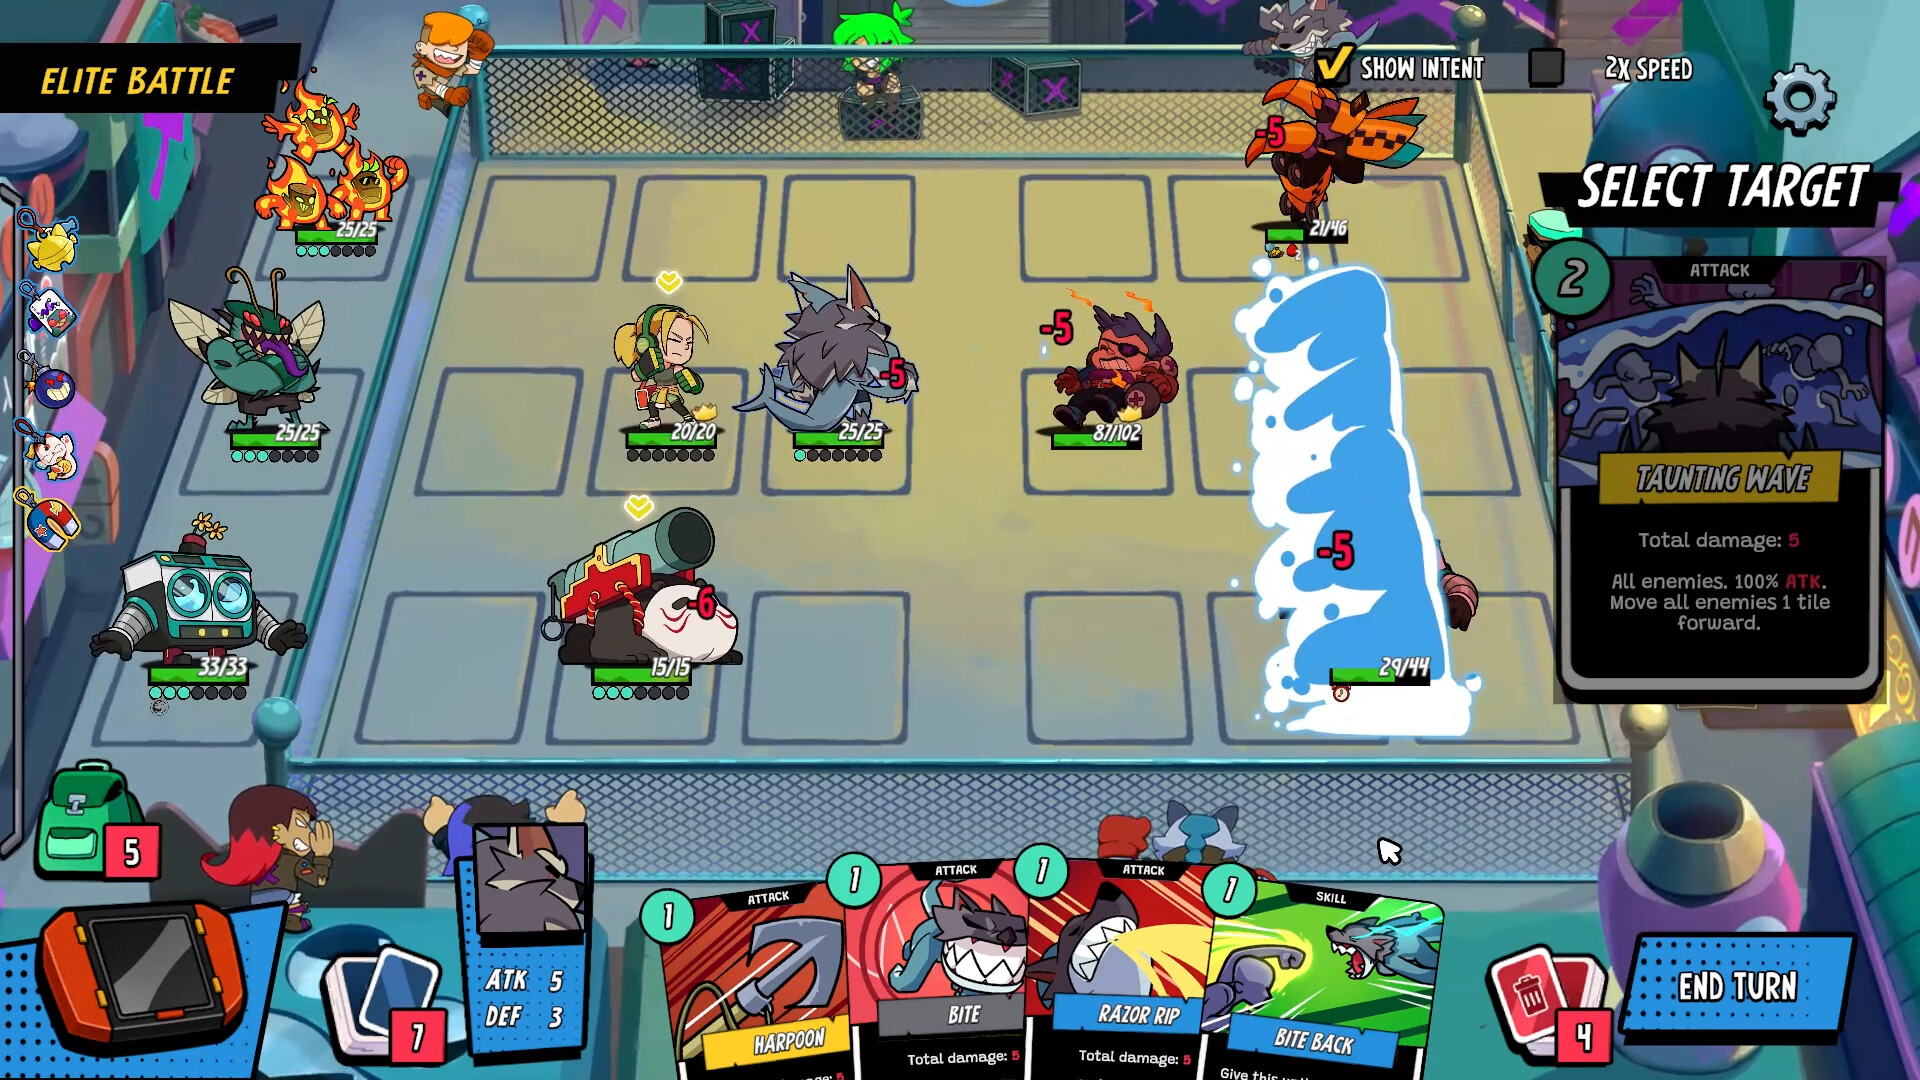
Your first turn
- Find the enemy most likely to reach the Trainer.
- Move a Montabi into the lane, or use it to hold that enemy up.
- Spend AP on a move or card that either fixes the board or removes that threat.
- If the enemy intent changes, leave yourself a way to answer it next turn.
Position before damage
A powerful card does nothing when its user cannot reach the target or leaves the Trainer exposed. Move to create a safe lane first, then spend cards on the targets that matter. This turns messy turns into smaller, repeatable decisions.
Why teams play differently
Montabi are not interchangeable party members. One may open a lane, another may keep pressure off the Trainer, and another may cash in once the board is ready. Pick recruits for the job they can do on the grid.
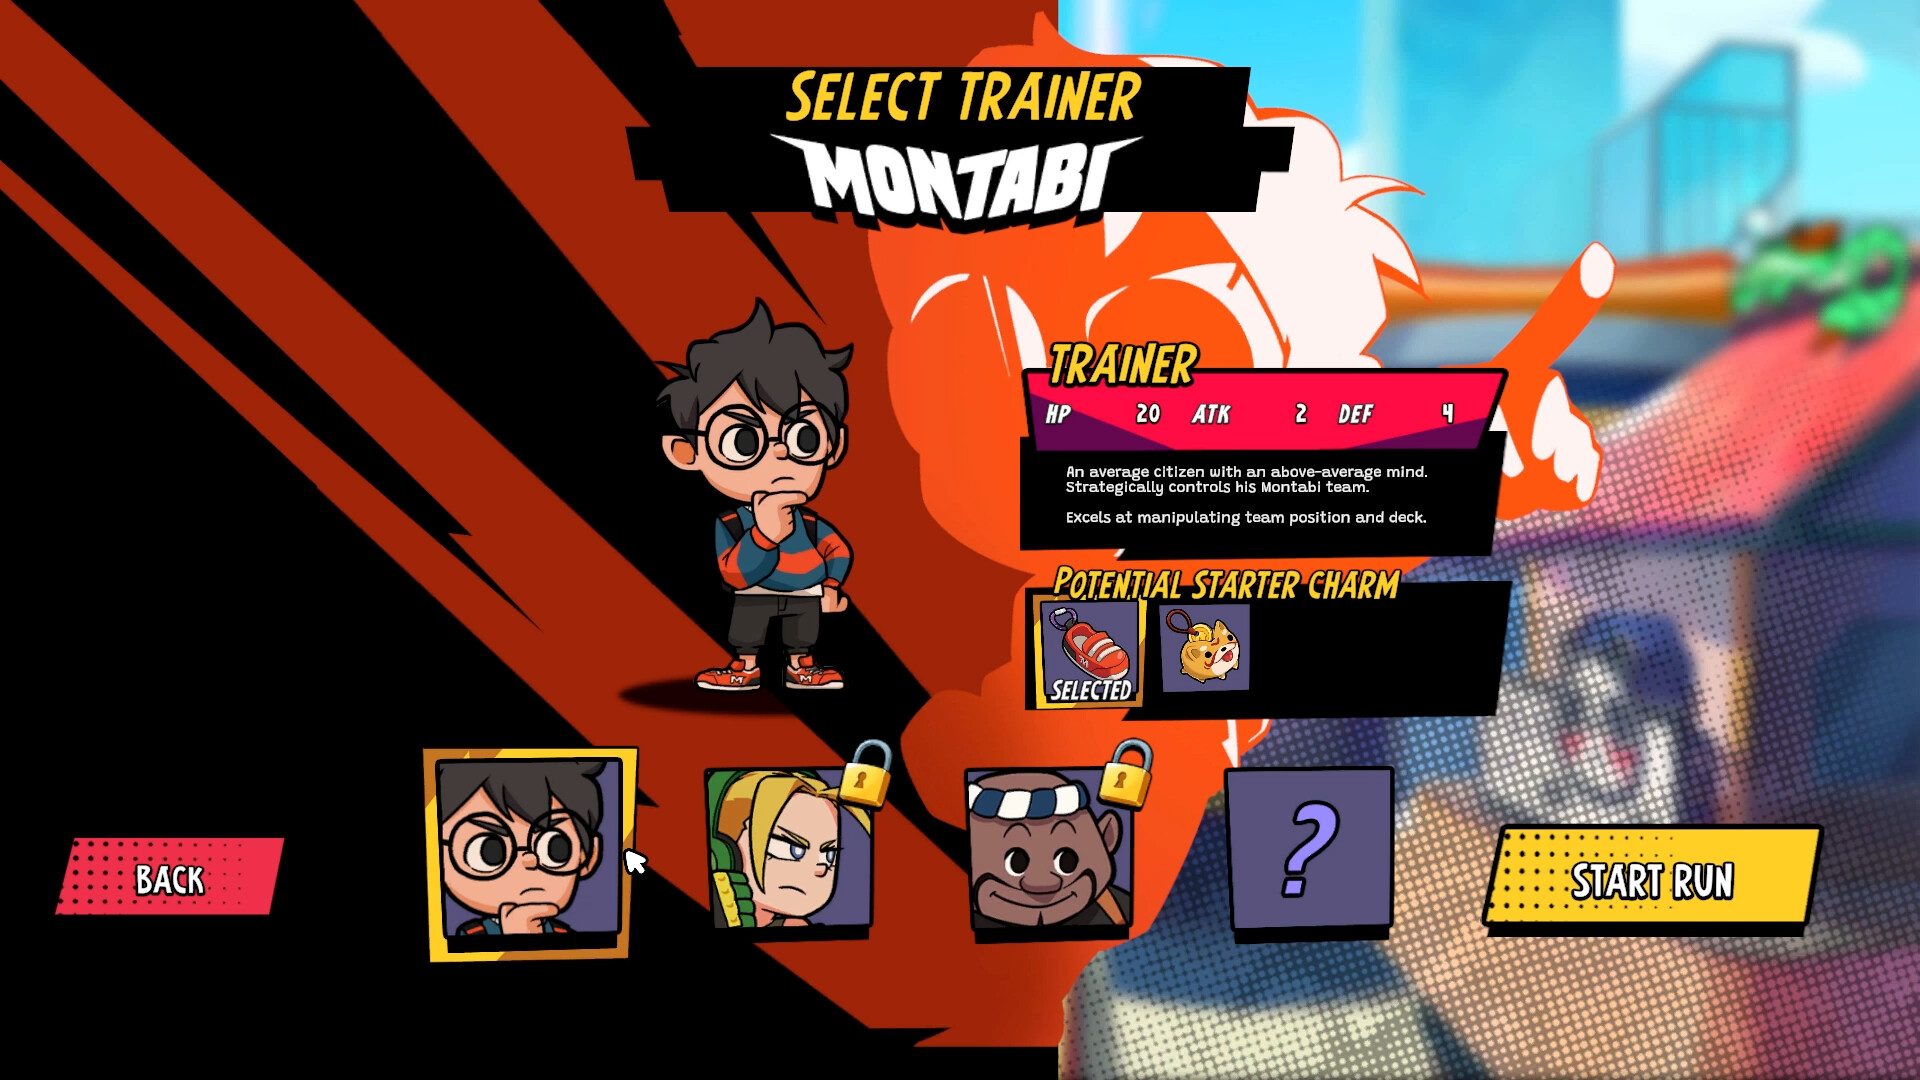
The Trainer comes first
The Trainer is on the board and can lose the run. A nice damage line is not worth leaving them exposed.
When a turn feels unclear
Start with the enemy that can threaten the Trainer, check the range on your useful cards, then decide whether movement creates a safer attack. The in-game card text and enemy intent display should settle the details of that turn.